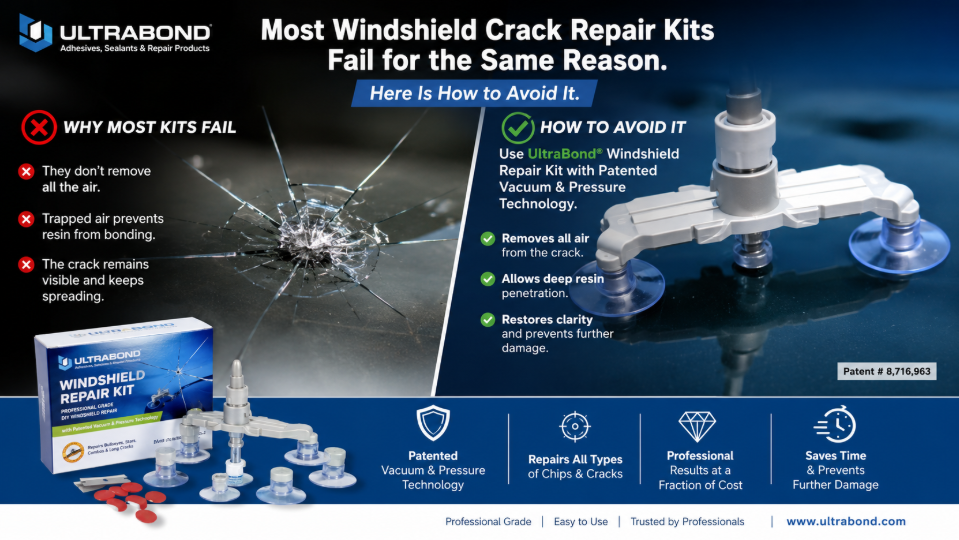
The most common windshield crack repair kit failure is not product defect. It is application error, specifically inadequate crack preparation before resin injection. Resins cannot displace moisture, road film, or debris inside the crack. Any contamination present at injection produces an incomplete fill that appears acceptable immediately after curing and fails within weeks.
The Core Problem
Windshield crack repair kits are sold as simple consumer products with minimal preparation requirements. The reality of professional-quality repair is more demanding. Cracks that have been exposed to rain, washing, or even normal atmospheric moisture contain water that must be fully evacuated before resin injection. Skipping the drying step is the single most common cause of failed repairs across all kit price points.
Why Common Approaches Fail
The instruction sequences in most consumer windshield crack repair kits allocate insufficient attention to crack drying. They typically mention it in passing or not at all. Professional technicians use heat guns or infrared lamps to thoroughly dry damage before injection, and they use the vacuum cycle of the injector to draw residual moisture out before introducing resin. Consumer kits rarely include the tools or the instruction to do this effectively.
The Auto Glass Safety Council notes that moisture contamination within windshield damage is present in the majority of repairs attempted more than 24 hours after damage occurs, making thorough drying one of the most critical preparatory steps in achieving lasting repair results.
The Better Approach
Before injecting any resin into a windshield crack, park the vehicle in direct sunlight for at least 30 minutes. For cracks older than a day, use a hair dryer or heat gun to warm the glass surface at the damage location for two to three minutes before injection. Use the vacuum stage of the injector to hold vacuum for a full minute before introducing resin. This preparation removes moisture that would otherwise compromise the repair regardless of resin quality.
How to Apply This
- Clean the crack area with glass cleaner and allow to fully dry before any other preparation.
- Heat the glass surface at the damage location before injection to evacuate moisture.
- Apply full vacuum cycle for at least 60 seconds before introducing resin.
- Inject resin slowly in multiple cycles rather than in a single continuous injection.
- Cure under direct UV light or sunlight for the full manufacturer-specified time, not just until the resin appears hardened.
Research by the National Windshield Repair Association shows that repairs performed with proper crack drying and multi-cycle injection achieve optical clarity scores approximately 40 percent higher than repairs performed without drying preparation, confirming that technique accounts for more of the final result than resin brand.
The Takeaway
The best windshield crack repair kit will produce a poor result when applied to a wet, contaminated crack. Preparation determines outcome more than product quality. Dry thoroughly, use the full vacuum cycle, and follow the curing step completely. The repair will then perform as advertised.